The Singer Le Mans Rear Axle
skip the reading and go right for the pictures
This is a write-up of the restoration of the rear axle on my car, for details on setting the backlash,etc. you can look at “The Singer Le Mans Rear End” on the Singercars.com website, the rear axle on that site should look exactly like this one, same dirty garage too and same rust on the parts. This is detail of putting together the axle, I just don’t go into the same details on setting the backlash on this page.
Click on picture to get a larger picture.
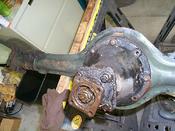
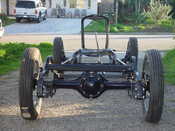
The mess I started with, I really did not plan on taking it apart as these things are bullet proof but it felt “sloppy” with too much backlash, so apart it came.
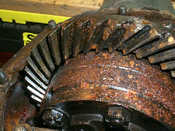
and YES I was very happy to have torn it apart once I saw the insides, when I drained the oil it did not look too bad, a little milky (indicating water) but certainly nothing to give me any hint that it would look this bad inside.
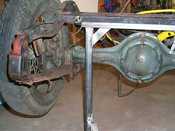
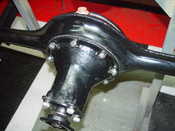
I don’t want to bore you with details of stripping it and painting it, so here it is painted. I used a wire brush on my angle grinder to get it to bare metal and painted it.
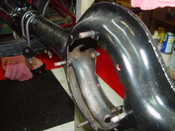
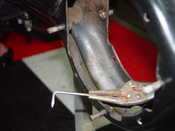
One thing I found is that the “groove” where the weld seam is, was FULL and I mean full of metal shavings and crud from the decades of use, I could not remove it all no matter what I used to clean it. I finally fashioned a nail and scraped it all out, was a pain but if you don’t clean it out then it will get the new oil dirty, quickly.
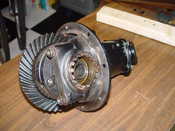
Rusty gear is all cleaned up and new bearings are set as per the instructions on the Singer site. From here on out it was easy.
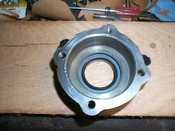
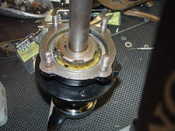
I don’t have a “before” picture for some reason, but here is the rear hub. I had it machined so that a normal modern day seal could go in where the original felt seals were. The felt seals leak and they also attract dirt which then acts as sandpaper on the axles, this will be much nicer and will prevent leaks onto the brakes.
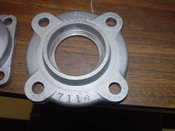
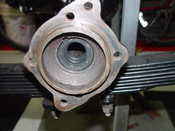
The front of the rear axle, this is the flange for the front input shaft and I had it machined like the rear hub, this is the before picture that I don’t have above. I found seals that had the proper ID for the input shaft but could not get the correct OD, so the machinist just opened it up a little and I pressed the seal into the housing.
Here is the hub that 2 pictures up, with new bearings and all greased up ready to go. .
You can see the locktabs that have been bent up into the nut to hold it from spinning loose.
You can see the locktabs that have been bent up into the nut to hold it from spinning loose.
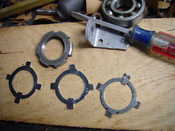
The lock washers for the hubs in the above picture, the tabs had been bent so many times that removing them, I broke the tabs off, so I made new lock washers. You can see the original on the far right and the 2 I made, even though the original one looks good, I was afraid the tabs would break like the other side did during removal so I made new ones. You can see the nut above the lock tabs, that was important to have around to make sure the tabs went in.
Looking into the rear axle, I was told by people in the U.K. that I should use 2 seals on each side since the axles are usually quite worn this gives you a fresh seal on a undamaged area of the axle. I was not planning on doing this but when I saw the “groove” in the axle from the old seal, I did it. You can see both seals in this pic.
If it does not leak, will it still be a British car ?
If it does not leak, will it still be a British car ?
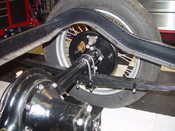
The finished axle, you can see one little item that I do to my cars in this pic. You can see on each bolt a white marking that goes to the housing. This tells me that the bolt is lock-tited and done, if a bolt is not marked it means it is not yet tightened for some reason. The marking going to the housing also tells me if it has worked loose and rotated from when I tightened it. Yes, not original but I plan on driving this car, lets keep the parts on the car.

